Transform Your Kitchen with Peel and Stick Tile Backsplash: A Complete Guide
Introduction
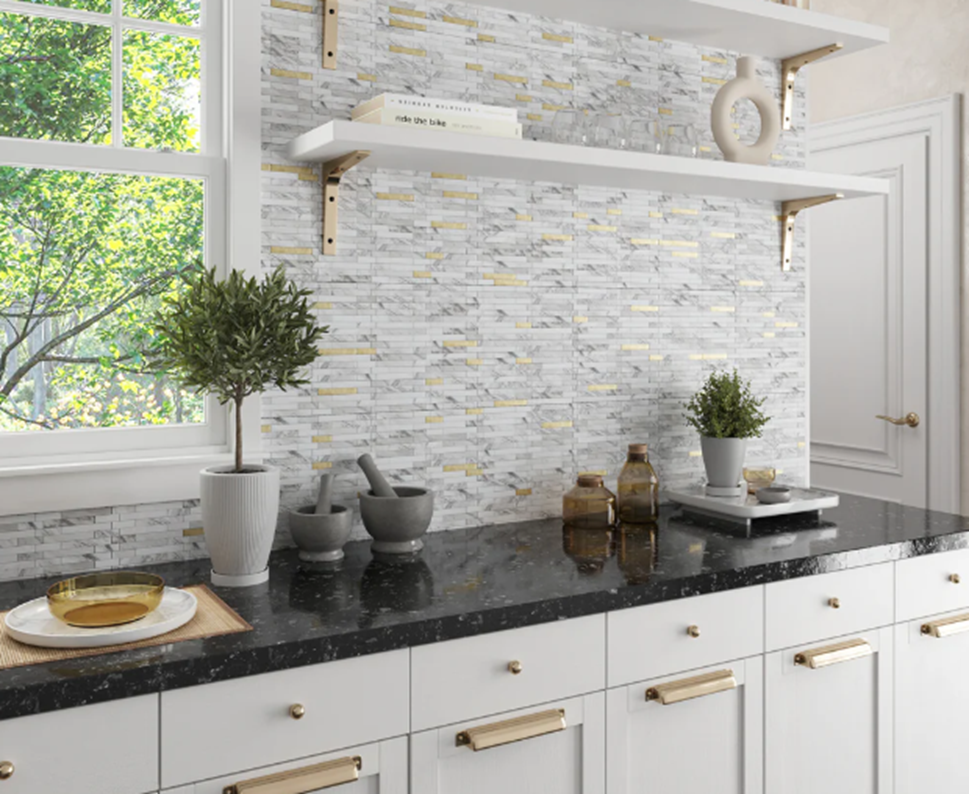
Your kitchen is more than just a cooking space—it’s the heart of your home. Whether you want a modern, rustic, or classic look, a peel and stick tile backsplash is a quick and affordable way to elevate your kitchen’s style without breaking the bank. Unlike traditional tiling, which requires grout, mortar, and professional expertise, peel and stick backsplashes offer a simple DIY solution that anyone can install with ease.
If you’re wondering whether peel and stick tiles are the right choice for you, this guide will cover everything you need to know—from their benefits and types to installation and maintenance tips. Read on to learn how you can give your kitchen a stunning makeover effortlessly!
Why Choose a Peel and Stick Tile Backsplash?
Peel and stick tiles have gained immense popularity among homeowners and renters alike. Here’s why they are an excellent choice:
1. Easy and Quick DIY Installation
No need for special tools or professional assistance—just peel, stick, and press. This makes the process hassle-free and perfect for beginners.
2. Budget-Friendly
Compared to traditional ceramic or stone backsplashes, peel and stick tiles are significantly more affordable while still offering a high-end look.
3. Renter-Friendly and Removable
If you’re renting and want a temporary kitchen upgrade, these tiles can be removed without damaging the wall.
4. Variety of Styles and Finishes
From classic subway tiles to intricate mosaic designs, peel and stick backsplashes come in endless styles to match any kitchen aesthetic.
5. Low Maintenance
Most peel and stick tiles are waterproof, heat-resistant, and easy to clean, making them ideal for kitchen environments.
Types of Peel and Stick Tile Backsplashes
Peel and stick backsplashes come in a range of materials, each with its own advantages. Here are the most common types:
1. Vinyl Peel and Stick Tiles
- Lightweight and flexible
- Budget-friendly
- Available in various colors and patterns
2. Gel 3D Peel and Stick Tiles
- Mimic the look of real ceramic tiles
- Slightly raised for a more textured appearance
- Water-resistant and easy to clean
3. Metal Peel and Stick Tiles
- Made from aluminum or stainless steel
- Ideal for modern or industrial kitchens
- Heat-resistant and durable
4. Stone Peel and Stick Tiles
- Resemble real stone or marble
- Provide a high-end, textured finish
- Heavier but extremely durable
5. Mosaic Peel and Stick Tiles
- Feature intricate, colorful patterns
- Perfect for creating a bold accent wall
Choosing the Right Peel and Stick Tile Backsplash for Your Kitchen
1. Consider Your Kitchen Style
- Modern kitchens: Go for subway tiles or sleek metallic designs.
- Farmhouse kitchens: Choose faux brick or stone finishes.
- Classic kitchens: Opt for mosaic or neutral-toned tiles.
2. Think About Durability
- If installing near a stove, choose heat-resistant tiles.
- Ensure the tiles are waterproof, especially near sinks.
3. Budget Considerations
- Vinyl tiles are affordable and removable.
- Metal and composite tiles are higher-end but long-lasting.
Step-by-Step Installation Guide
Installing a peel and stick tile backsplash is easy if you follow these simple steps.
Tools Needed:
✔️ Measuring tape
✔️ Utility knife or scissors
✔️ Level
✔️ Pencil or marker
✔️ Ruler
Installation Process:
1. Prepare the Wall Surface
- Clean the wall with soap and water to remove grease and dust.
- Let the surface dry completely before applying the tiles.
2. Measure and Plan
- Use a measuring tape to determine the dimensions of the backsplash area.
- Plan the placement of each tile before peeling the backing.
3. Peel and Stick the Tiles
- Start from one corner and work your way across.
- Peel off the backing and press the tile firmly onto the wall.
- Use a roller or hand pressure to remove air bubbles.
4. Cut and Adjust
- Use a utility knife or scissors to trim tiles for a perfect fit.
- Ensure proper alignment around outlets and edges.
5. Secure the Tiles
- Press down all edges for a strong hold.
- If needed, use extra adhesive spray for better durability.
Maintenance and Cleaning Tips
Peel and stick tile backsplashes are low maintenance, but a little care will ensure they last longer.
1. Regular Cleaning
- Wipe with a damp cloth and mild detergent.
- Avoid using abrasive scrubbers.
2. Protect from Heat
- Keep tiles away from direct flames.
- If installed near a stove, use a heat-resistant option.
3. Check for Loose Edges
- Press down any lifted edges or apply extra adhesive.
Frequently Asked Questions
1. Are Peel and Stick Backsplashes Heat-Resistant?
Some are! Metal and stone-look backsplashes handle heat better than vinyl or gel tiles. If placing near a stove, choose a heat-resistant option.
2. Can I Install a Peel and Stick Backsplash Over Existing Tile?
Yes! Just ensure the old tiles are clean, dry, and smooth before applying the new ones.
3. How Long Do Peel and Stick Backsplashes Last?
With proper care, they can last 3-5 years or longer.
4. Can I Remove a Peel and Stick Backsplash Without Damaging the Wall?
Yes! To remove, gently heat the tiles with a hairdryer and peel them off slowly.
Conclusion
A peel and stick tile backsplash is an easy and affordable way to refresh your kitchen without extensive remodeling. Whether you prefer a classic subway tile, a bold mosaic pattern, or a modern metallic finish, there is a style to suit every taste.
If you’re ready to transform your kitchen with minimal effort, try a peel and stick tile backsplash today and enjoy a stunning new look in no time!